Showing posts with label White Acrylic. Show all posts

Friday, October 12, 2012

"This is Halloween" Jack-o-Lanterns

It's the 4th challenge in the "This is Halloween" nail art challenge. Today's theme: Jack-o-lanterns!


Last year I remember seeing these completely unique and awesome Jack-o-lantern nails over at Nails by Kayla Shevonne. I went to her blog searching because I remember she had a tutorial for them. Well, I found said tutorial and decked my nails out.

Jack-o-Lanterns


I added CHINA GLAZE Ghoulish Glow to the cut out parts of the jack-o-lanterns, but I had one heck of a time capturing the glow. Here is the "best" (and I use that term loosely) photo of it.


Colors used:
   • base color - CHINA GLAZE Liquid Leather
   • base color glitter - CHINA GLAZE Skyscraper
   • Jack-o-lantern cut-out color - SALLY HANSEN XTREME WEAR Sun Kissed
   • Jack-o-lantern cut-out color - CHINA GLAZE Roguish Red
   • glowing top coat - CHINA GLAZE Ghoulish Glow
   • I used white and black acrylic paints as well to make the orange pop on top of the black and then to cover up any mistakes and add detail to the shapes

Kayla is extremely talented and artistic and this design and tutorial are both fantastic. I absolutely love how it turned out. This is the epitome of Halloween nails.

Thanks for popping in!

Tuesday, June 19, 2012

Butterfly Gradient Skittles

Welcome back, ladies! Boy is it HOT outside today. It's going to get even hotter as the week goes on for us here in VA. I decided on doing more nail art today. My last nail post I did ladybugs, today I have butterflies! This one is also a re-creation from a Pintrest find originally done by Beads. Nails. Food. Pairing the gradient with the butterfly look was so gorgeous I immediately bookmarked it in my head to do later. I have been getting a nice little collection of shimmer polishes so I decided to pair a shimmer with a corresponding color for my gradient. Lots of polishes and pictures for this one so hunker down there, girls.

Butterfly Gradient

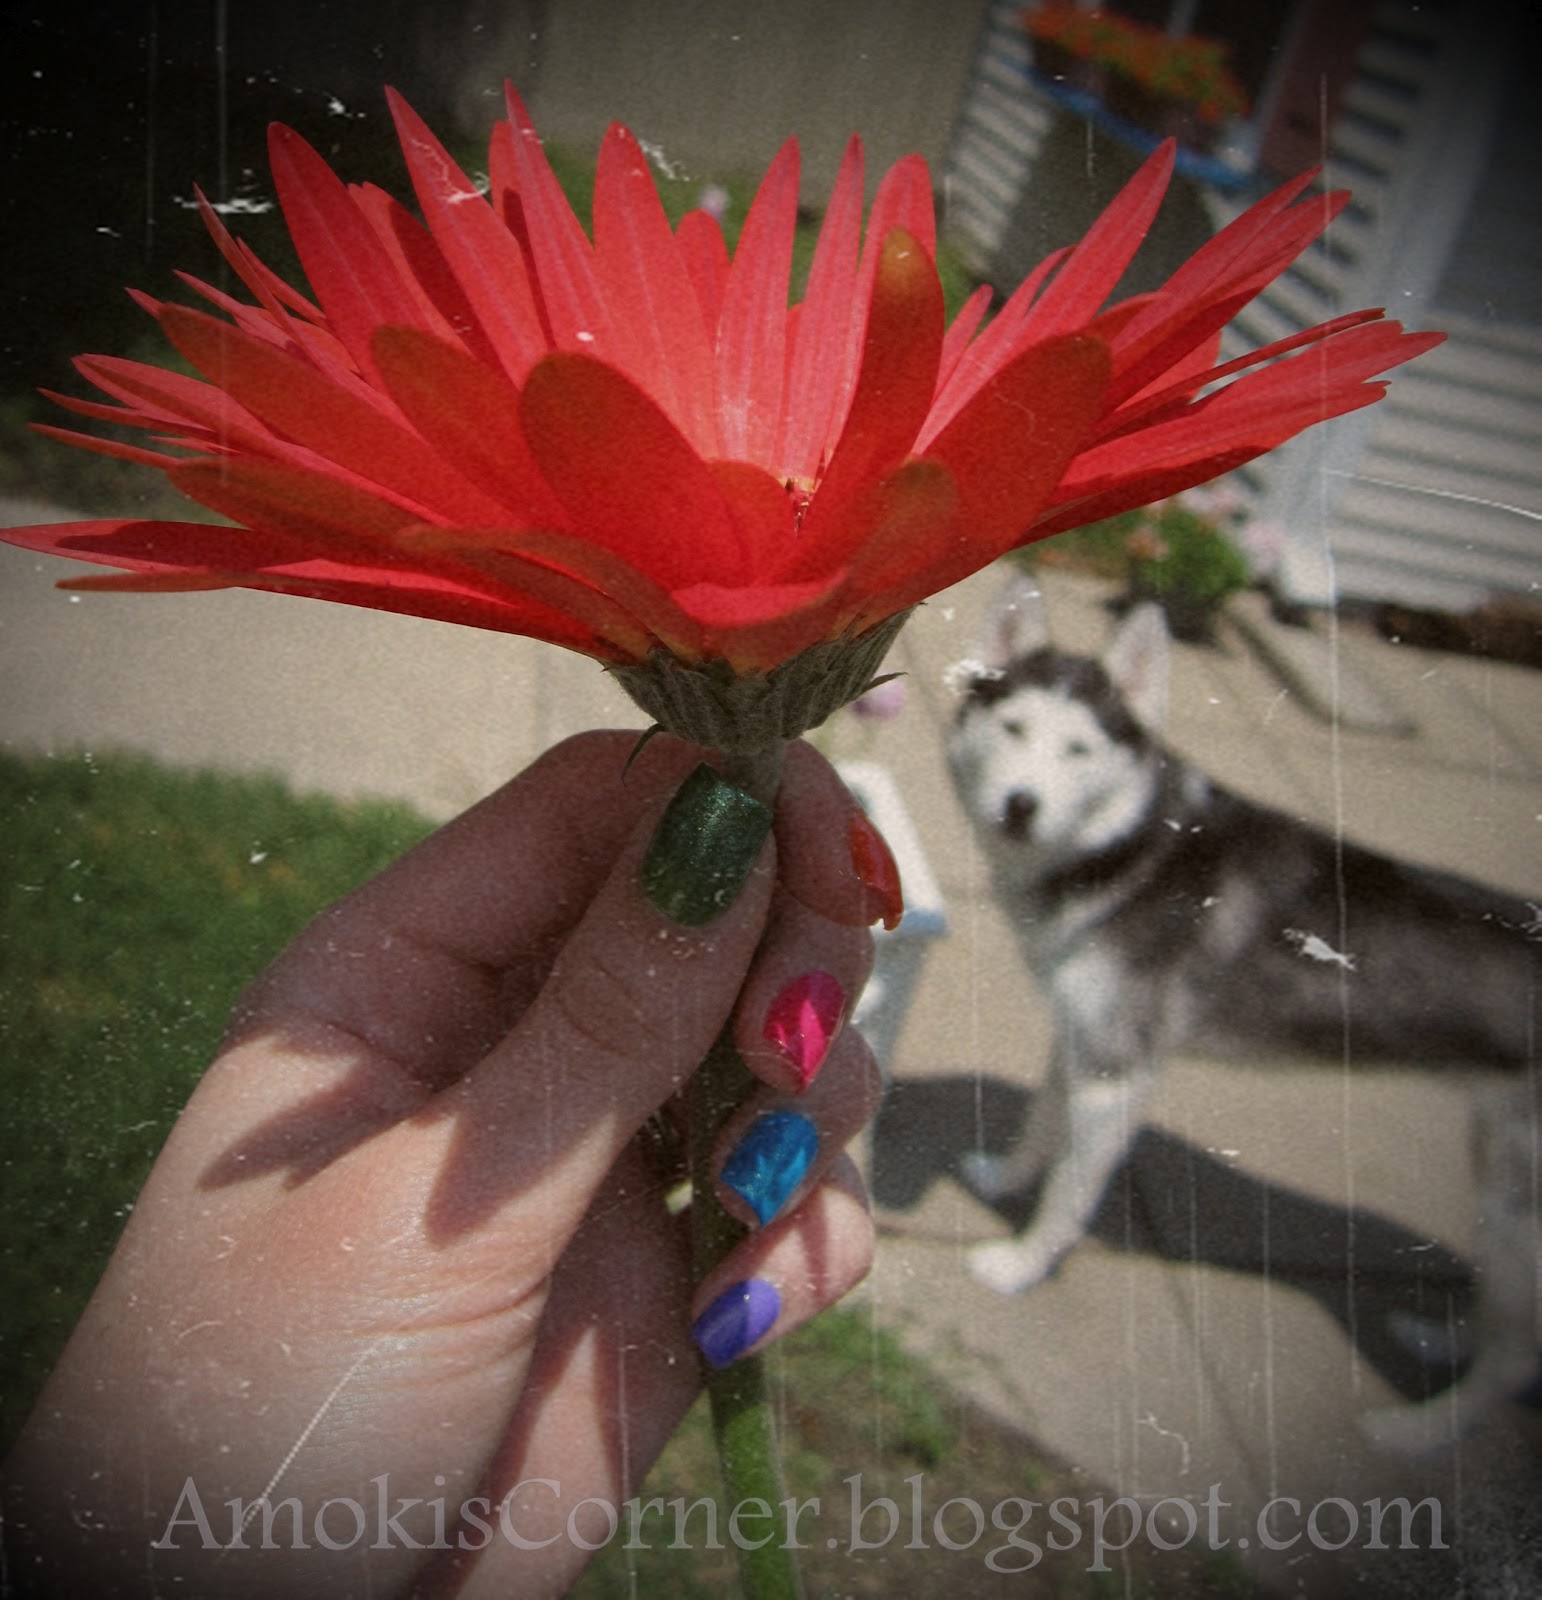
butterflies and flowers (that's a Gerbera daisy from my garden)
Little Miss Amoki admiring Momma's nails from afar.
Dpow smelling the daisy
Skittle Gradients before butterfly-ification
Colors used:
   ● thumb: ZOYA Midori w/ ZOYA Ivanka
   ● pointer: ZOYA Arizona w/ ZOYA Myrta
   ● middle: ZOYA Lolly w/ ZOYA Kimber
   ● ring: ZOYA Robyn w/ ZOYA Charla
   ● pinky: JULEP Anne w/ ZOYA Zara
   ● KONAD Special Polish in Black
   ● White Acrylic

all the polishes I used for this look!
I told you I used a lot! It took a while to achieve this look. I started with 2 coats of each base color (the ones listed first under colors used) and let it completely dry. I then used a small makeup sponge and applied the shimmery colors (second colors listen under colors used) on the tips down partially to the middle of each nail. I let this dry and then applied Seche Vite. It helps to use a top coat before adding nail art so if you mess up it's easier to remove your mistake without mussing up your base color too much. After that was dried I used my small art brush and freehanded the black butterfly lines and then added the dots with white acrylic using my dotting tool. After the detailing was COMPLETELY dry, I topped once again with Seche Vite to smooth out the look and help make it last. When adding top coat over any sort of nail art be sure it's 100% dry. If it isn't, the drag from the brush can smear your work.

Phew! Hope you could follow all of that. I love my summer toes and nails! I kind of have a mixture of things going on here; skittles, gradient, nail art... :-)

Thanks for popping in!

Thursday, June 14, 2012

Ladybug Toes

Thanks for coming back to see my nail art! It's toe nail art, but it's still cute. I came across the most adorable ladybug pedicure on Pintrest the other day and I HAD to re-create it for myself. Unfortunately because of all of the re-linking on Pintrest, sometimes the original link gets lost as with this photograph. So, I am so sorry I don't know who to give credit to. Here is my re-creation:

ladybug pedicure

Colors Used:
   ● SINFUL COLORS Ruby Ruby
   ● KONAD Special Polish in Black
   ● White Acrylic Paint

This is SO cute for summer, amiright?! I am super pleased with the results of my work and I love it. I first painted 2 coats of Ruby Ruby then using a small art brush I free handed the black half circles and line. With a dotting tool I added the eyes and black dots then after it was finished drying I topped with Seche Vite to smooth out the look.

I love jazzing up my toes because I usually can keep them the same for a few weeks.

Thanks for popping back in!