Showing posts with label Arizona. Show all posts

Monday, October 22, 2012

"This is Halloween" Gradient

Hey, all. I'm back with the Gradient theme in the "This is Halloween" nail art challenge. Jessica did a gradient for it as well. It's always fun to have someone painting their nails with you. We did them on the couch watching Burn Notice.

I did a gold and white gradient using BARRY M Gold Foil sponged over WETnWild White Creme. I then freehanded black stripes on to make a mummy effect and then used a dotting tool to add eyes.

Mummy Nails over gold/white gradient
BARRY M Gold Foil sponged over white
Jessica used ZOYA Arizona and sponged SH Lustre Shine Lava for her gradient.

ZOYA Arizona & SH Lustre Shine Lava

I greatly enjoyed my sister's visit and she gave me some more polishes to borrow! (:  Even though I had to hand over Creepy Pumpkin.


Thanks for popping in!

Friday, October 5, 2012

"This is Halloween" Water Marble Challenge

Today is the 2nd day of the "This Is Halloween" nail art challenge and it's water marbling.


This technique is not one I have perfected by any means. I have 2 designs to share today, one is from last year and one is from today. I hope you enjoy!

Orange Water Marble

Colors used:
   • FANTASY MAKERS Creepy Pumpkin
   • ZOYA Arizona (base color)
   • SALLY HANSESN XTREME WEAR Sun Kissed
   • FINGER PAINTS Orange-Cordur

I had other plans for this manicure when I started out, but if you've done water marbling before than you know not all polishes work. I ended up going all orange because these colors worked the best in the water.

I also wanted to share with you the water marbling I did last year for Halloween when I wasn't actively blogging.


I added a cute skull decal I picked up from Sallys as an accent. The black certainly pops more and I was trying to use it in this years, but the polish refused to spread in the water.

Water marbling takes a lot of patience to be sure. I love how the end result is always unique and pretty. I do feel that I still need more practice with this technique.

Thanks for popping in!
I wish the inlinkz where different for each challenge, sorry the links are cluttered between two of the challenge days!

Tuesday, June 19, 2012

Butterfly Gradient Skittles

Welcome back, ladies! Boy is it HOT outside today. It's going to get even hotter as the week goes on for us here in VA. I decided on doing more nail art today. My last nail post I did ladybugs, today I have butterflies! This one is also a re-creation from a Pintrest find originally done by Beads. Nails. Food. Pairing the gradient with the butterfly look was so gorgeous I immediately bookmarked it in my head to do later. I have been getting a nice little collection of shimmer polishes so I decided to pair a shimmer with a corresponding color for my gradient. Lots of polishes and pictures for this one so hunker down there, girls.

Butterfly Gradient

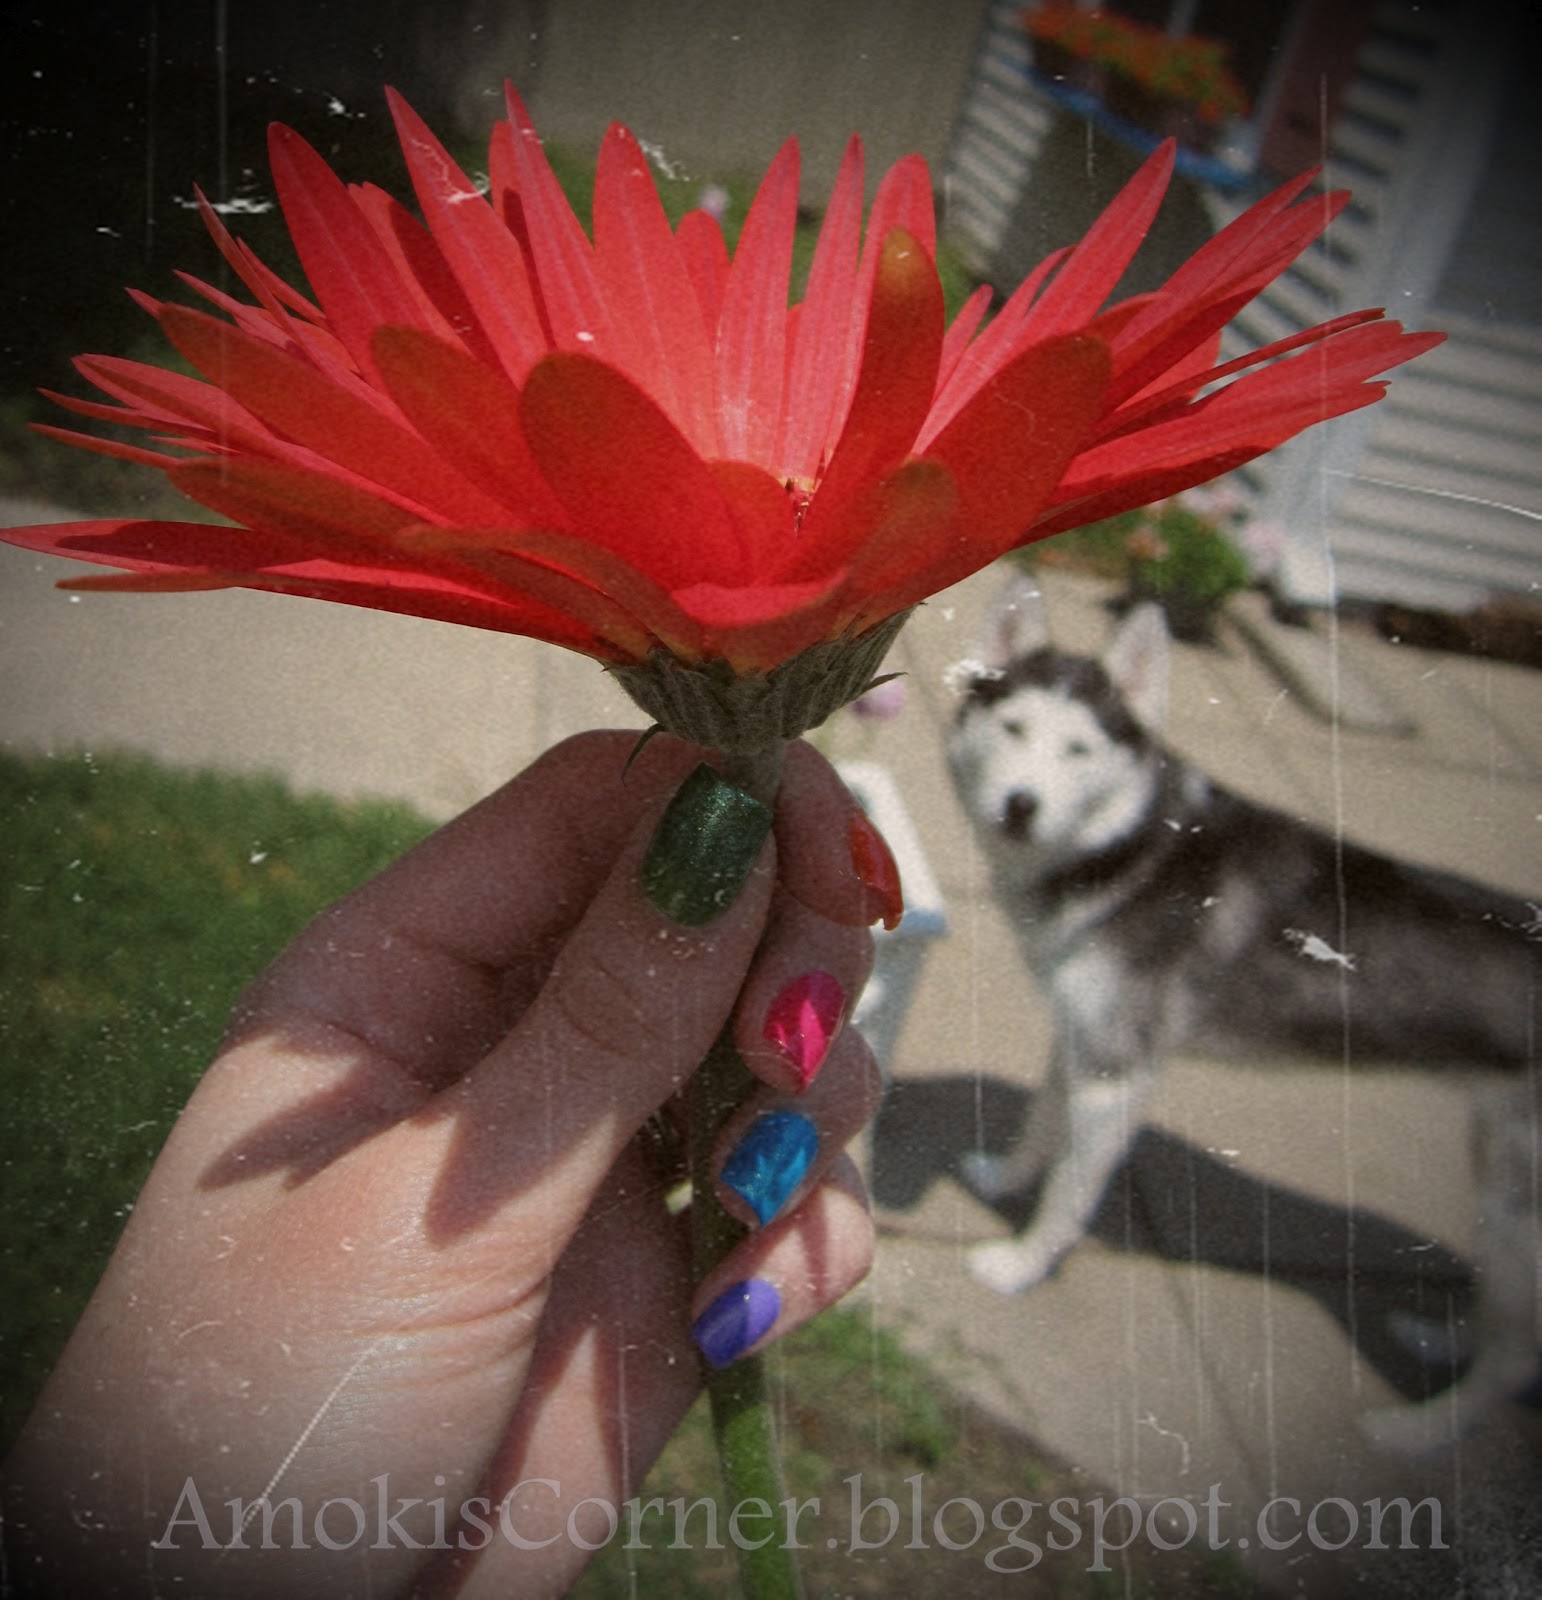
butterflies and flowers (that's a Gerbera daisy from my garden)
Little Miss Amoki admiring Momma's nails from afar.
Dpow smelling the daisy
Skittle Gradients before butterfly-ification
Colors used:
   ● thumb: ZOYA Midori w/ ZOYA Ivanka
   ● pointer: ZOYA Arizona w/ ZOYA Myrta
   ● middle: ZOYA Lolly w/ ZOYA Kimber
   ● ring: ZOYA Robyn w/ ZOYA Charla
   ● pinky: JULEP Anne w/ ZOYA Zara
   ● KONAD Special Polish in Black
   ● White Acrylic

all the polishes I used for this look!
I told you I used a lot! It took a while to achieve this look. I started with 2 coats of each base color (the ones listed first under colors used) and let it completely dry. I then used a small makeup sponge and applied the shimmery colors (second colors listen under colors used) on the tips down partially to the middle of each nail. I let this dry and then applied Seche Vite. It helps to use a top coat before adding nail art so if you mess up it's easier to remove your mistake without mussing up your base color too much. After that was dried I used my small art brush and freehanded the black butterfly lines and then added the dots with white acrylic using my dotting tool. After the detailing was COMPLETELY dry, I topped once again with Seche Vite to smooth out the look and help make it last. When adding top coat over any sort of nail art be sure it's 100% dry. If it isn't, the drag from the brush can smear your work.

Phew! Hope you could follow all of that. I love my summer toes and nails! I kind of have a mixture of things going on here; skittles, gradient, nail art... :-)

Thanks for popping in!

Monday, June 4, 2012

Orange Spring Tips

Hello, ladies. Summer is getting closer and the weather is getting hotter. Today I went with a bright orange tipped manicure. I think it's a fun play on the classic french that is perfect for Spring.

I started off with 2 coats of Essie Allure as my base color. For my tips I chose Zoya Arizona. Arizona is a fantastic sherbert orange cream. 

Zoya Arizona tips over Essie Allure - shade
Zoya Arizona tips - direct sunlight
To get that curved shape I used reinforcement stickers which I peeled off while the polish was still wet. If you wait until your polish has started to dry, the polish may peel off on the edge with the sticker.

The sun really brought out the milkyness of Allure, but indoors and in the shade it just has more of a great shine to it like the top picture.

I hope you all have a great rest of your day and thanks for popping in!